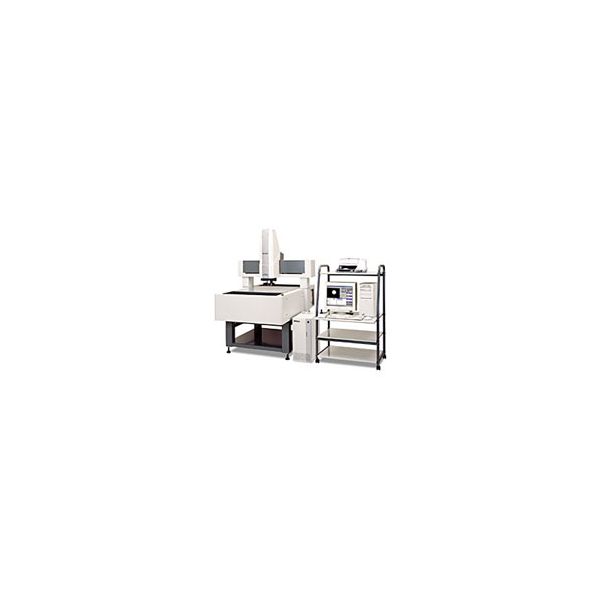
Nikon NEXIV-VMR-6555 Nikon Vision System Stage Stroke (Xx Yy Zz) Standard 650 x 550 x 150 mm (25.6 x 21.7x 5.9) in. Minimum readout 0.1 microns Maximum work piece weight 30kg (66.1lb.) Measuring accuracy at 20C+/-0.5K: U1x U1y : 1.5 + 4L/1000 microns Z
Item number:
NEXIV-VMR-6555
| Additional Details | Stage Stroke (Xx Yy Zz) Standard: = 650 x 550 x 150 mm (25.6 x 21.7x 5.9) in.|Minimum readout: = 0.1 microns| Maximum work piece weight: = 30kg (66.1lb.)| Measuring accuracy at 20C+/-0.5K: U1x U1y = 1.5 + 4L/1000 microns| Z-axis guide accuracy: = (1.5+L/150) microns| |
|---|
Nikon NEXIV-VMR-6555 Nikon Vision System Stage Stroke (Xx Yy Zz) Standard 650 x 550 x 150 mm (25.6 x 21.7x 5.9) in. Minimum readout 0.1 microns Maximum work piece weight 30kg (66.1lb.) Measuring accuracy at 20C+/-0.5K: U1x U1y : 1.5 + 4L/1000 microns Z
Availability:
In stock
Item number
NEXIV-VMR-6555
Four models with stepped zoom magnification ranges to cover different fields of view and resolution requirements.
New 650 by 550 millimeter steel stage on VMR-6555 with ball screw design cross roller bearing guides. (Fast Accurate Durable)
Precision ground large diameter ballscrew with DC servo motors for high speed and stiffness.
Improved stage acuracy with new lower coefficient of expansion 0.1 micron resolution scales.
Advanced Nikon optics provide superior images for improved repeatability and accuracy.
Telecentric 15:1 zoom module with 0.35 N.A objective and 50mm free working distance.
Vision and TTL Laser autofocus. High speed Throuogh-The-Lens Laser scans 1000 points/sec.with 0.5 um Z accuracy at 2 sigma.
Advanced image processing enhances contrast and fidelity with powerful edge detection to insure accuracy and repeatability.
New easy to program versatile VMR Automeasure software includes: CAD reader Offline programing Profiling software and Programing wizards.
Faster image acquisition and system speed with selected defect-free instrument grade progressive scan black & white Camera
Programable dual white LED illuminator rings
Stage Stroke (Xx Yy Zz) Standard: 650 x 550 x 150 mm (25.6 x 21.7x 5.9) in.
Minimum readout: 0.1 microns
Maximum work piece weight: 30kg (66.1lb.)
Camera: B/W Progressive Scan camera or color CCD camera
Maximum specimen height (Standard): 150mm
Zoom Head Magnification and Field of View: Type 1: 0.5- 7.5x 9.33 x 7.00mm - 0.622 x 0.467mm;
Type 2: 1- 15x 4.67 x 3.50mm - 0.311x 0.233mm;
Type 3: 2 - 30x 2.33 x 1.75mm - 0.155 x 0.117mm
Auto Focus: (TTL) Through the lens laser and video auto focus
Power Source: AC 100 to 240 V+/- 10% 50/60 Hz
Power Consumption: Approximately 9A
Dimensions and Weight:
Main Body Only: 1220(W) x 1680(D) x 1750(H) mm 600kg; 48.0(W) x 66.1(D) x 68.9(H) in. 1322.8lb
Main Body & Table: 690(W) x 730(D) x 1725(H) mm 200kg; 27.2(W) x 28.8(D) x 67.9(H) in. 440.9lb
Controller: 250(W) x 550(D) x 500(H) mm 20kg; 9.8(W) x 21.7(D) x 19. (H) in. 44.1lb
Foot Print: 2400 (W) x 2000 (D) mm; 94.5 (W) x 78.7 (D) in.
Host Computer:
Main unit: IBM PC/AT compatible (Windows(R) 2000)
Monitor: 19-inch LCD flat panel
Measuring accuracy at 20C+/-0.5K:
U1x U1y: in.1.5 + 4L/1000 microns
Max Work Piece 30kg
U2xy (Standard): 2.5 + 4L/1000 microns
Max Work Piece 30kg
Z-axis guide accuracy: (1.5+L/150) microns

